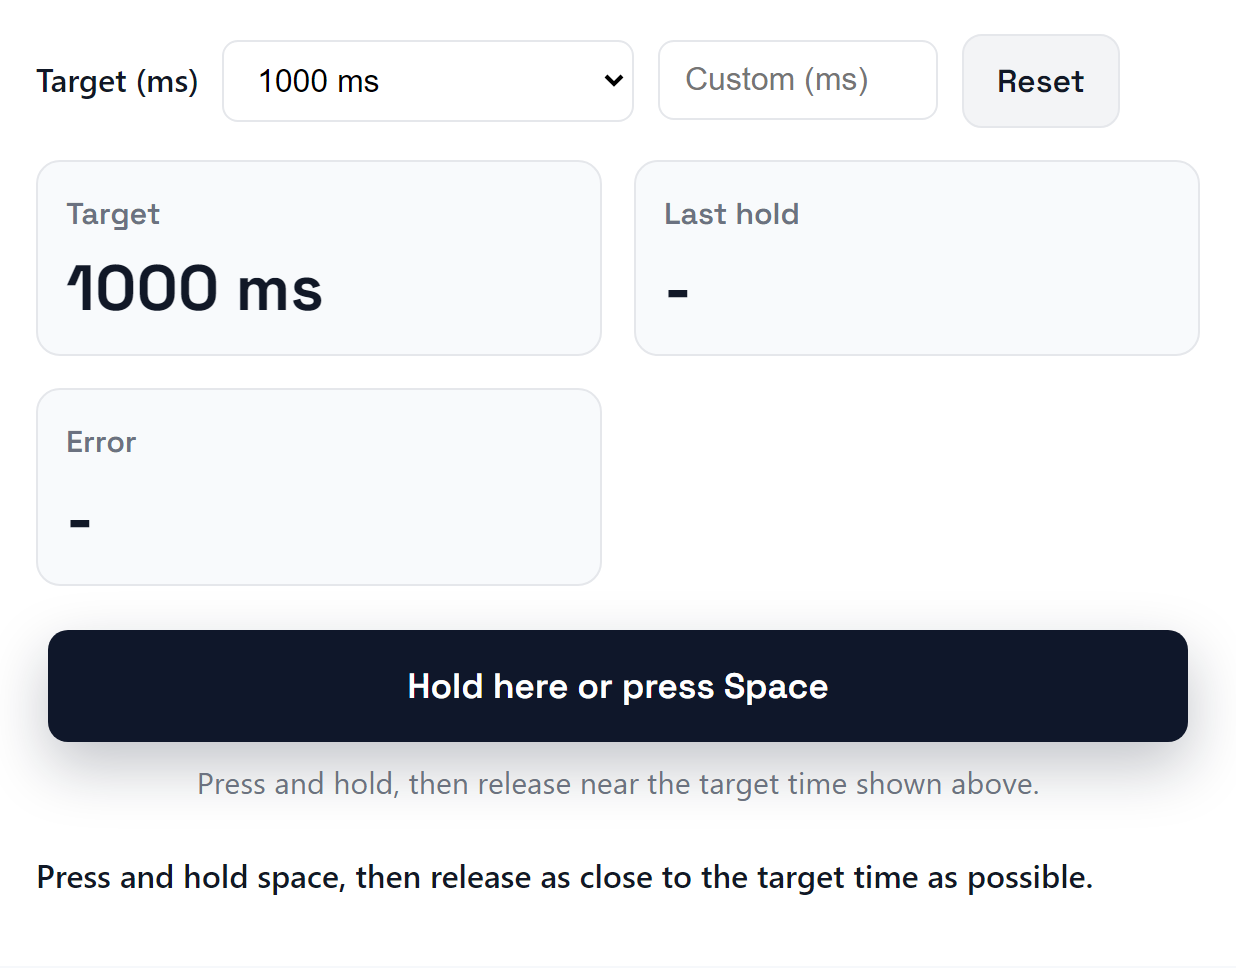
Hold and release drills are about control, not raw speed. This mode trains clean timing so your rhythm and reaction tests feel smoother and more consistent.
1. Why hold and release matters
Timing control improves reaction tests and helps you maintain a steady rhythm in longer sessions. It also exposes weak spots where you rush or hesitate.
2. Start with short targets
Use short target times first, then increase the target as you become consistent.
Level
Target time
Beginner
1 sec
Intermediate
1.5 sec
Advanced
2 sec
3. Keep the same cadence
Count out loud or use a timer cue so each hold and release matches the same rhythm. Inconsistent cadence makes progress hard to track.
4. Track timing drift
Log when your release timing slips. That is usually where your control needs work.
- If you release early, reduce the hold time.
- If you release late, slow the cadence and rebuild.
- If your hand tenses, take a short break.
Tip: Clean timing beats high speed. Precision here transfers to rhythm and consistency modes.
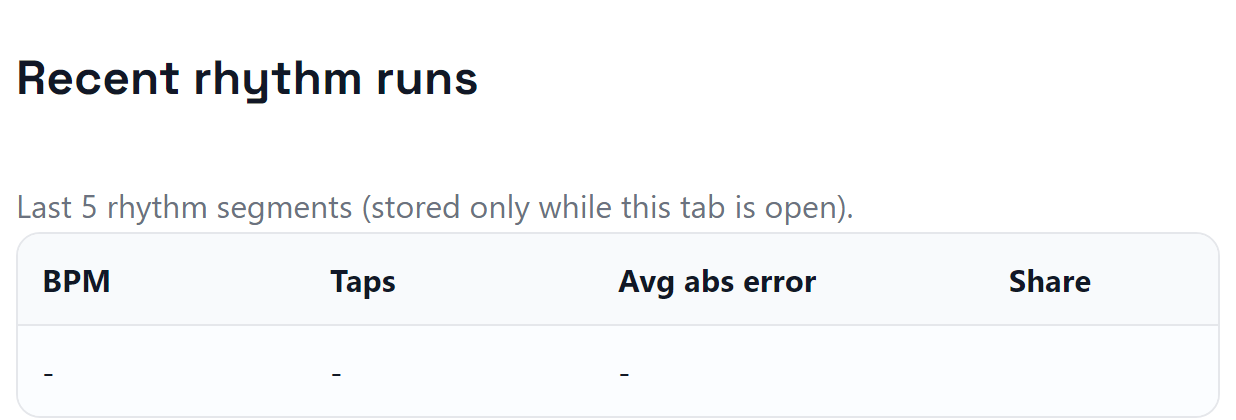
5. Combine with other modes
Pair hold and release with rhythm mode for timing, then add endurance once per week to see how control holds under fatigue.
Drill idea
- Hold for 1 second
- Rest for 1 second
- Repeat for 60 seconds
- Increase the hold time
- Track drift each round